How to make a mini Sailor Hat!
Fancy a bit of a nautical themed outfit but down want to cover up all the hard work you put into your hair? Well, here’s just the ticket!
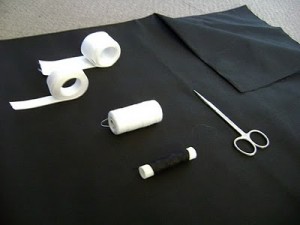
Materials:
–Fabric: Scrap corners will do, you really don’t need a lot. I used craft cotton for mine because it’s just a bit stiffer but any fabric will do. If you chose a really light fabric you might want to apply an interfacing to the brim to help it keep shape.
–Ribbon: 2 m (You might have some left over but it is better to be safe the sorry.)
–Thread: Both colours of your fabric and ribbon.
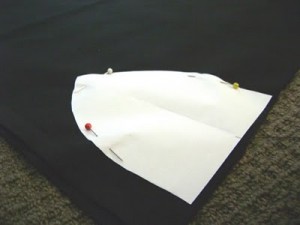
Step 1. Cut four triangles with the tops rounded to the point 5” high and 4” across.
If you are new to sewing cut your shape out on paper fist.
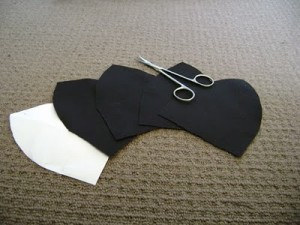
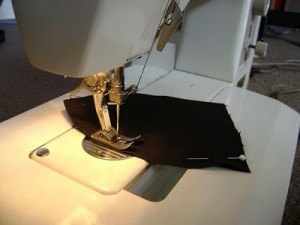
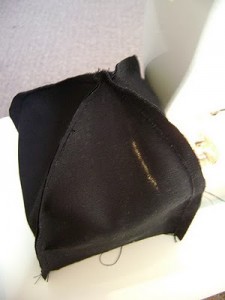
Step 2. Take two, pin together and sew along one of the rounded 5” sides.
Step 3. Join to another then the last to make a pyramid tipped box.
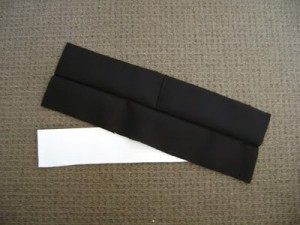
Step 4. Cut a rectangle along the fold of your fabric (if you can’t just double the width) 15” High and 2 1/2” wide.
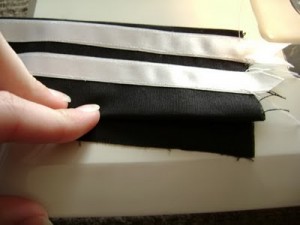
Step 5. Unfold and mark where the ribbon stripes will be. Pin and sew the ribbon on to the outside of the fold.
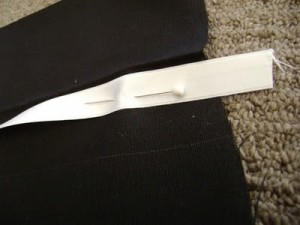
Step 6. Now refold and fold in the ends.
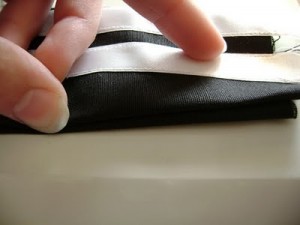
Step 7. Place and pin around the open end of the pyramid tipped box. When you reach the start fold under the excess fabric and place the end over start to make a band.
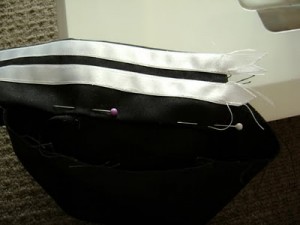
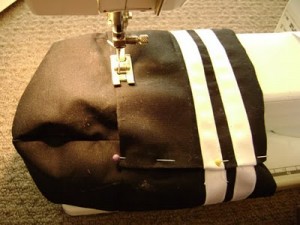
Step 8. Determine where you would like to have the ribbon ties and pin into seem.
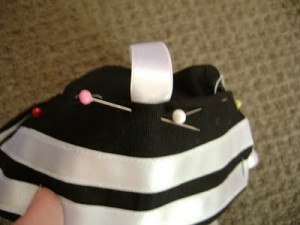
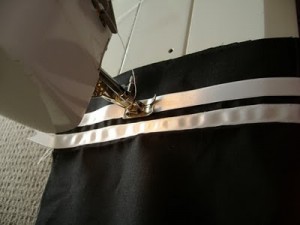
Step 9. Now, carefully sew around pinned seems making sure you catch the ribbon ties and both layers of fabric.
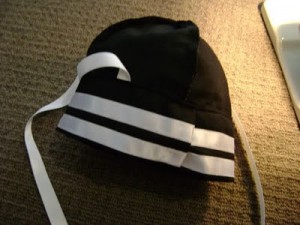
Step 10. Turn right way in and your hat it now complete.
And wal-lah! You are now going to break some navy hearts! Hope you all enjoyed my tutorial. If you have any questions or need help don’t hesitate to ask and I’ll get back to you as soon as I can.
E: [email protected]
Love, Vivian Veil.