How to make Seamed Stockings!

What you need:
~Stretch fabric- I used one-way stretch but if you want a little more comfort or have extra shapely pins you might like to try a two way stretch.
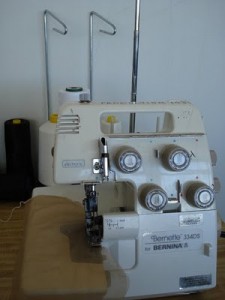
~Stretch Overlooking thread- You can use normal overlocking thread but sometimes it can break if you are a little rough while pulling your stockings up.
~Scissors
~Pins
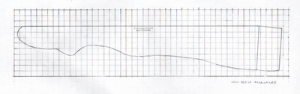
The grid is 1 square equals 2.5 cm. This is a size Medium and if you pick a good two way stretch and stretch overlocking can fit most sizes but if you are worried you can make the pattern larger by having each square equal 2.7cm or smaller 2.3cms.
This pattern has a 1cm seam allowance included.
Step One:
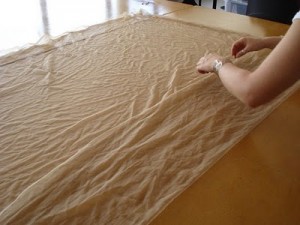
Make a fold about the width of you stocking on the fabric (each leg will need to be on a fold.)
Step Two:
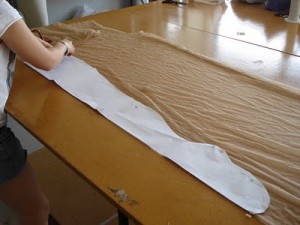
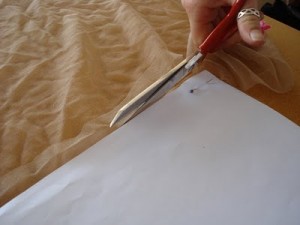
Lay pattern on fold of fabric, pin and cut.
Step Three:
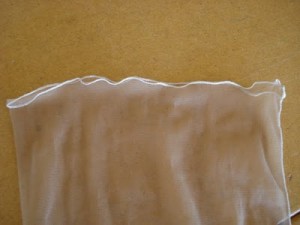
Pin and overlock open sides together leaving the top open.
Step Four:
Overlock around the top keeping it open and trim away any excess threads.
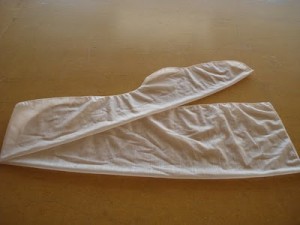
And Wallah! It’s done. Easy, huh? This pattern has an allocated allowance for a fold over to strengthen it while wearing suspenders but if you don’t like the look you can always cut it off at the height you like (make sure you try it on first or it might come out to short). You can also wear these with the overlocking on the inside or out, what ever you prefer.
Now that you have made your own stockings from scratch, you can easily turn a pair of old pantyhose in seamed stockings. Just iron then flat and zoom away on your stretch threaded overlocker. 😀
Love, Vivian Veil.
